Sunday, 22 Nov 2009
For the record
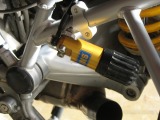
Shock rebuild time
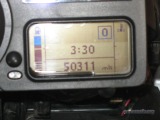
50311 miles. The shock was mounted about 34,000 miles ago. I noticed the damping wasn’t what it used to be and re-adjusted the shock not long ago. It’s time to re-adjust again.
Instead I’ll get the shock serviced. At the same time I’ll see about having a new spring installed. The stock spring was always a bit too much for my weight. With zero pre-load the bike felt great – after adding 60 pounds of camping gear to the back. Maybe a lighter spring will make the bike great all the time.
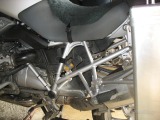
Left Zega removed
Muffler clamp
Clamp loosened
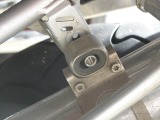
Muffler bracket screw removed
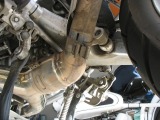
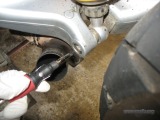
I’m hoping I don’t need to remove the Zega brackets to remove the muffler. The muffler has to come off to get access to the bottom shock mounting screw. I removed the Zega case then loosened the muffler clamp where the tail pipe clamps to the output of the collector/cat and the screw that holds the muffler bracket to the frame.

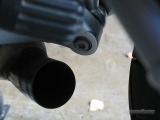
Aerokroil helps
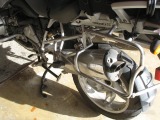
Mufler removed
Apparently I used enough anti-seize when I last installed the muffler as it came off without much effort. I’m sure the Aerokroil I sprayed around the joint didn’t hurt matters any. Now that the muffler is out of the way I can remove the shock.
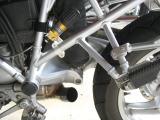
Shock sock removed
Preload adjuster ready
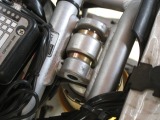
Top shock mount
I removed the protective shock sock and detached the remote preload adjuster from its frame bracket. The last bit of prep work was removing the seat to get to the top mounting bolt. Easy stuff.
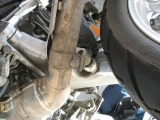
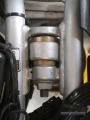
Heat
Partially removed lower bolt
Using the pencil torch to heat up the lower mounting screw was an experiment that failed. The screw needs to be heated to defeat the loctite. It is a bit too big for the pencil torch, though. The bigger, map gas tourch gets the screw hotter, faster. Once the thread locker loosened I backed the screw out.

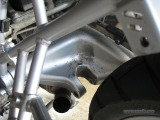
Take weight off of swing arm
Top bolt removed
A board under the rear tire took the weight off the swing arm so I could remove the bolt from the top mounting bracket. Once the top was off I held the shock while pulling the bottom screw out of the swingarm. Done. From start to finish, including picture taking time was about 30 minutes.
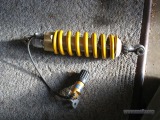
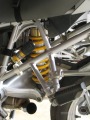
Ready for rebuild
Here is the shock, ready for re-build and maybe a softer spring. Cosmetically, it looks good. The shock sock seems to have done its job.
Dirty

Clean
Lastly comes the cleaning. The area of the swing arm behind the shock only gets cleaned when the shock is removed. I used WD-40 and a paper towel to break up the thicker tar deposits. A damp rag got the rest of the dirt off. Since I won’t be getting back to this area for another 30K miles or so I used both a cleaner/polish and some paste wax.
I hope to take the shock in on Tuesday and have it back some time next week. If so I won’t bother putting the OEM shock on the bike. I’ll ride my R69S, instead. Still to do is muffler cleaning and, while the bike is down for use, replace the rear brake rotor.