Saturday, 4 Sep 2010 [57397 miles]

New front
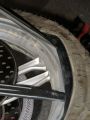
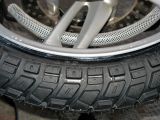
A new rear tire got me looking hard at the knobs on the front of the bike. Thursday I decided to put a new front tire on the bike, one that matches the rear. I picked up a new Heidenau 110/80B19 K60 Scout yesterday afternoon. Today it goes on the bike.
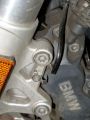
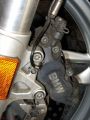
ABS sensor wire
Left caliper
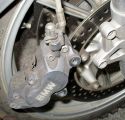
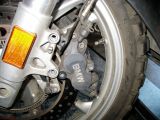
right caliper
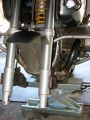
I loosened the clamp holding the ABS sensor wire near the left brake caliper and then unfastened both left and right brake calipers, wiggling them a bit to separate the pads before pulling them off of the brake rotor.
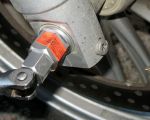
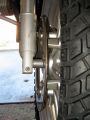
Pinch bolt and axle
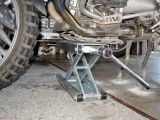
Jack up front
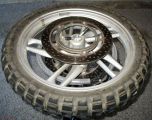
Wheel removed
I broke the axle free before jacking the front of the bike up just enough to take the weight off of the front wheel. Hint: if the axle doesn’t want to loosen just maybe you forgot to first loosen the pinch bolt.
Wheel on stand

Valve core removed

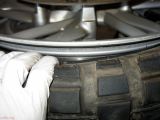
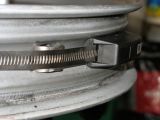
Bead broken
I moved the wheel to my tire changing stand then removed the valve core and got out the bead breaker. I broke the bead in one location using the bead breaker them used tire irons around the rim on both sides of the wheel until the bead was completely free.
Into drop center
First bite
Tire removed
Keeping the bead in the drop center of the wheel opposite from where working with the tire irons is the key to making the job easy. Well, as easy as removing tires gets. Once the tire was off I broke for lunch.
pressure sensor
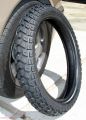
Warm tire
After lunch I used some soap and a scotchbrite sponge to clean up the old rubber from the bead area. I also cleaned the dirt and dead bugs off of the rim. The rim is easier to clean when on the wheel stand than when on the bike. The new tire has been sitting in the sun while all of the above has been going on.
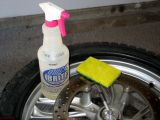
Murphys oil soap
Tire mounted
I also use the Murphy’s oil soap as tire lube to mount the new job twice.
Valve core installed
Try again with lube
With the tire on the rim I installed the valve core and gave the tire some air. My air chuck requires the valve core to trigger air flow. The tire bead did not set the first time. I squirted a little bit of lub around the bead on both side of the rim and tried again. The bead popped at about 25 PSI this time. I brought the pressure up to 34 PSI.
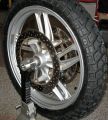
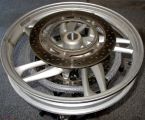
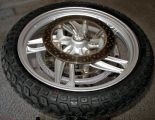
No extra weights
The weights on the rim are there to balance the rim (and tire pressure sensor) without a tire. I put the newly installed tire and rim on my balancer and found that no extra weight is needed. The wheel is ready to put back on the bike.

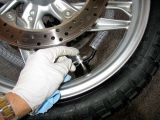
Spacer
Brake calipers
Pinch bolt last
I cleaned the axle and spacer before applying a thin layer of anti-sieze. I installed the axle and the brake calipers first.
Once the brake calipers were back in place I pumped the front brakes until the pads were back in contact with the rotor, then removed the scissor jack, took the bike off the center stand, and bounced the front end up and down a few times. With the bike back on the center stand I tightened the pinch bolt. Job done.