2000 January 15 (Saturday)
Will this, the third time my crank will be installed in my case, be the last time? I hope so. Since it’s being done at Joe’s shop it’s being done his way.
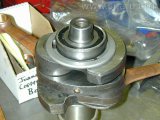
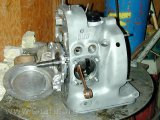
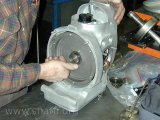
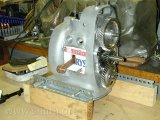
Rear bearing holder
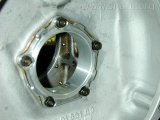
New rear bearing holder
There was a a slight step in the rear bearing holder, barely felt with my finger nail. Joe has a new holder so we pulled the old one out of the case and installed the new one. The picture is a close-up of the new bearing holder.
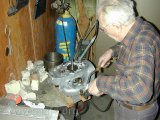
Cleaning oil passages
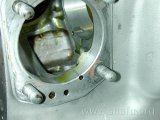
Cleaning oil passages
Cleaning oil passages
To make sure that the oil passages are clean Joe had me fill the holes to the rear bearing, the holes to cylinders, and the hole from the oil pump with oil, then blow air through the system. I’m glad I did this… the first time a bunch of “guck” came out. The second time all that came out was clean oil.
Rear bearing and slinger
Rear bearing/slinger on crank
Close-up rear bearing/slinger
I installed and staked down the rear slinger and then Joe pressed the rear bearing onto the crank. The proper spacer was used between bearing and slinger.
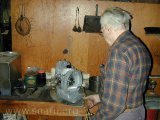
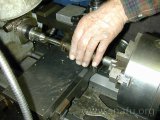
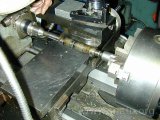
Case dressing
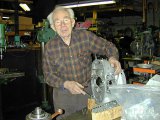
Joe with file
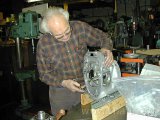
Joe at work
The pictures are of Joe dressing the front of the case to make sure the front bearing holder will mount flush.
Front slinger
Front slinger on crank
The front slinger (and spacer) is installed. Joe staked the slinger screws to make sure they don’t come loose.
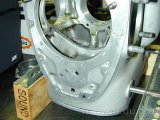
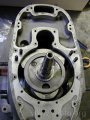
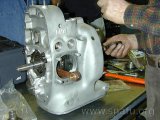
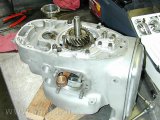
Heating case for crank
Ready for heat
Heating rear of case
Joe does not follow the manual when installing cranks. He partially installs the front bearing and bearing holder to help align the crank before applying heat. The case is heated and then the crank is pulled back so that it is centered in the case.
His rear bearing holder is threaded so a tool can be installed to pull the crank back in the hot case.
Install flywheel
Front bearing w/holder
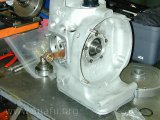
Rear, before seal installed
Flywheel installed
After the the crank was installed and the front bearing carrier tightened to the case the rear main seal was installed. Finally the flywheel. Time for the acid test: the runout of the flywheel was checked. This time it is within spec.
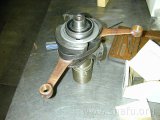
Camshaft check
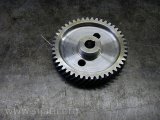
Cam gear
Checking camshaft
Camshaft
While this is going on we pulled the camshaft timing gear off the camshaft to check the bearing. The bearing was cleaned and tested - it was better than the new bearing we were going to install! The camshaft tested true.
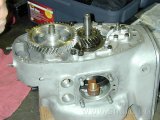
Timing gear
Heating timing gear
Timing gear installed
The main timing gear was heated and dropped onto the front of the crank.
Camshaft installed
Camshaft installed
The camshaft was put together and then re-installed. We had to wait for the gear to cool so it wouldn’t bind with the main timing gear. There is no backlash - the gear set is in excellent condition.
Oil pump gear
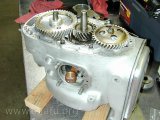
Oil pump gear installed
Ready to take home
I install the oil pump gear (left handed threads). Before carting the engine home I put it back in my stand and install some cardboard bits to protect the connecting rods and keep junk out of the case.