Saturday, Dec 5, 2009
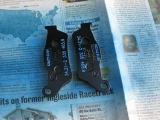
Straight from the oven
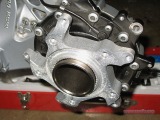
Slipped on easy
Circlip in place
Today’s recipe called for baking the flange at 350 for 45 minutes and no, I didn’t pre-heat the oven. This time the flange got hot enough. I screwed on the puller assembly just to carry the hot part from oven to bike without burning fingers. The flange slid over the splines of the axle tube; no force needed. I removed my “carrier” and installed the circlip. Easy peasy.
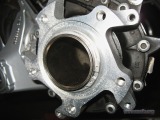
The apparent marks on the flange are a side effect of using flash to take the pics. They can not be seen in normal light. The surface feels relatively smooth, too.
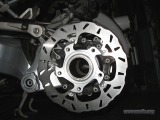
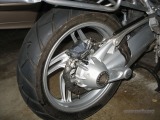
New brake rotor
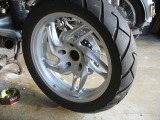
Two wheels, again
Look at that, a new rotor installed and the rear wheel back on the bike. I even took some time to clean the worst of the grunge that covered the wheel.
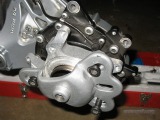
Caliper half
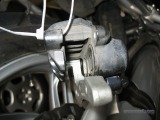
Whole caliper
Fresh lube
Since new pads are needed for a new rotor I also too the time to clean up the caliper and apply fresh brake grease to the pins.
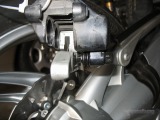
Anti-squeel
New pads installed
Mud guard
The blue stuff on the back of the pads is spray on anti-squeel that seems to work OK. I installed the pads, spun the wheel, and checked that it would stop when the rear brake was applied. The bike is almost ready to ride.
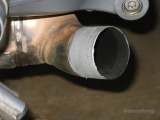
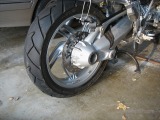
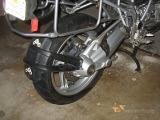
Ready for muffler
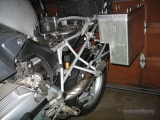
Almost ready to ride
I put the right case on the bike and grabbed the left case then stopped. Forgot about the muffler. The muffler goes on easy. The anti-seize is to make sure it comes off easy, next time. I then installed the left case. Installed after the last pic was the saddle. I’m ready to ride.