Sunday, 23 Jan 2011 [59966 miles]
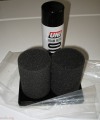
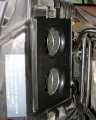
Foam air filter
Freshly oiled
Decisions, decisions… where to start. Front shock? Brakes? Valves? How about the air filter. I’m switching from stock paper to a Uni oiled foam filter. I sprayed a lot of oil onto the foam and worked it in with my fingers. It’s sitting in a plastic bag letting any excess oil drip out.
Unclip snorkel
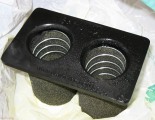
Used filter
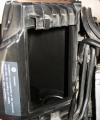
Clean air-box
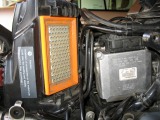
Foam filter installed
I used air to blow the crap around the air-box away and wiped things down with a damp rag before unclipping and removing the snorkel. The inside of the air-box looked OK. I installed the foam filter, but held off on the snorkel as it might be in my way for what comes next.
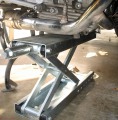
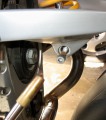
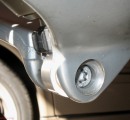
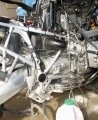
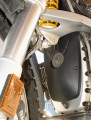
Support for front
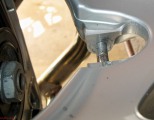
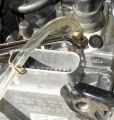
Shock top mount
I cheated
Shock removal time. I put a scissor jack under the engine case (it just fit between the rubber bash plate mounts) and jacked it up enough to touch the case. I cheated with the top shock mount, using an air impact to break it free. It’s easier than trying to keep the shock from moving.
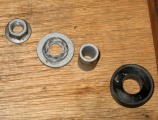
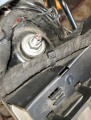
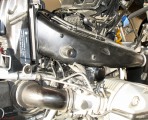
Top shock hardware
Lower shock hardware
Bottom free

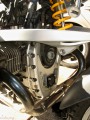
That’s better
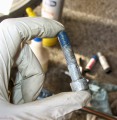
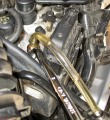
I heated the lower mounting screw with a Mapp gas torch until about 300F then used a ratchet with a T-50 head to remove the screw. With the shock pulled close to the engine it couldn’t drop down quite enough for removal. I used the scissor jack to raise the front until the top of the shock came free. Careful with brake line tension when raising the front.
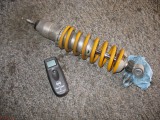
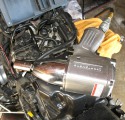
Needs rebuild
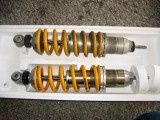
Rebuilt replacement
Cleaning hardware
Before starting to mount the replacement shock I cleaned up the bottom mounting screw and the threads in the A-arm. It took a few tries before the screw would thread easily by hand.
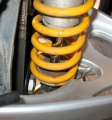
Thread locker and anti-seize
Bottom torqued
Top torqued

Tools
I should use a new bottom screw with BMW’s encapsulated thread locker. The book also calls for anti-seize. Instead I noted where the screw threaded into the A arm and applied thread locker to that portion and anti-seize to the rest. I also used thread locker on the top nut. I used the shock pre-load adjusting wrench to keep the shock from turning while torquing the top nut to spec.
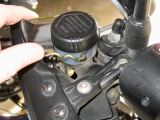
Clutch cap tool
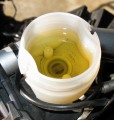
Not too full
Put bellows back
Clutch OK
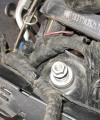
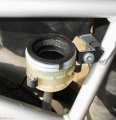
As the clutch wears the clutch fluid rises. I removed the cap after cleaning using my super special cap removal tool (a bent hanger). Level is fine. No contamination noted. That’s all for clutch maintenance.
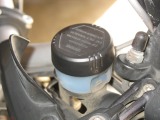
Rear brake control
Capture old fluid
rear reservoir
empty
Sealed bottle
Out goes the old
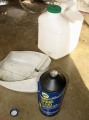
For no particular reason I started the brake bleed at the rear control circuit. I use a MotionPro one-way valve instead of speed bleeders. A syringe dedicated to brake fluid helps suck fluid out of the master cylinder. The job is easy. Hardest part is not spilling the bit of fluid left in the tube when pulling it off the bleeder.
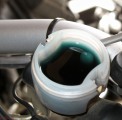
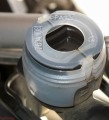
Front control circuit
Front reservoir
Control circuits bled
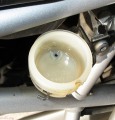
The front reservoir had some black specks at the bottom. I wiped it down with a paper towel after drawing out the old fluid with the syringe. Also, I remove the ABS electrical connector to get easier access to the bleed valve. When done I topped off the reservoir, cleaned around the bleed valves with a damp rag, and finished by re-installing the bleed valve caps.
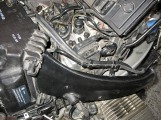
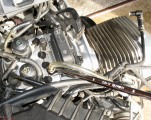
Cleaning
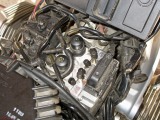
Front cover
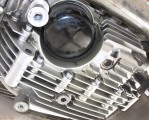
Engine bottom
Snorkel back in place
I’m going to delay doing the wheel circuits until tomorrow. At this time of year the sun pours into the garage in the afternoon, making it uncomfortable to work. I did spend a bit of time cleaning up the engine case and re-installing the front cover. I put the snorkel back, too.