Saturday, Nov 28 2015
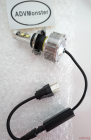
LED H4 from ADVMonster
The dr650 topic in the Thumpers forum on Adventure Rider cost me a few more dollars. The reason for this change is 35 watts. The LED module uses 35 watts less than a stock H4 bulb which should let me use my heated gloves with my heated liner.
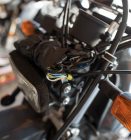
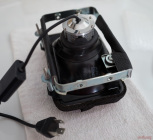
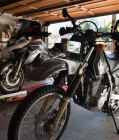
Remove number plate

Remove headlight
Three screws and the number plate comes off the bike. Another 4 screws and the headlight electrical connector has the headlight assembly in your hands.
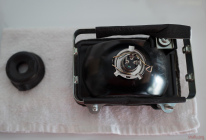
Stock bulb
It will go like this
These two pictures compare how the stock bulb fits vs the LED module. The heat sink and LED emitters can be removed from the base for easy base installation and installing the protective boot.

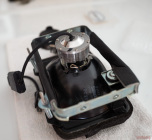
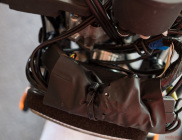
Fitting rubber boot
LED H4 installed
These pictures show the emitters/heat sink removed to install the protective boot and the headlamp assemby ready to re-install on the bike.
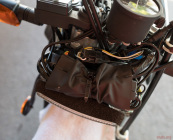
Wires on top
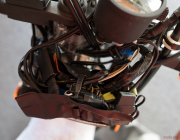
Inside wiring bundle
It fits
I routed the wire a few ways before deciding that puting the wiring on the top where they can be added to the existing wiring bundle looked best. It did take a bit of connector placement finessing within the bundle to get the wire tie to fit.
Lights on
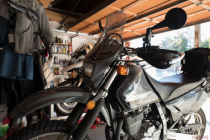
Ready to ride
Lights work. They are whiter than I like (about 6K color temperature) but I’ll live with that for the extra 25 watts. I put the number plate back on the bike and called the project done.