Thursday, Jul 16 2020 [5,307 miles]
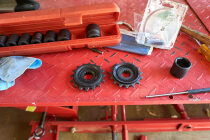
I thought I’d buy a complete oil filter set, one that includes the drain plugs with screen. The goal is to have some on hand. Murphy says that the likelyhood of needing a replacement drain plug w/screen is much higher you don’t have a replacement ready. In the future I hope I’ll only need to buy the oil filter.
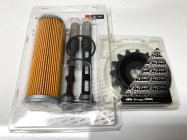
Oil filter kit and front sprocket
As long as I was buying I added a replacement front sprocket to my order. This one has 15 teeth. Stock is 16 teeth. It will change my sprocket ratio from 2.8125 to 3.0, a 6.6% increase. I can live with that on the top end to get a little more at the bottom end. If I don’t like it I can always put the stock sprocket back on the bike. Tomorrow I’ll install the sprocket and see how I like it.
Friday, Jul 17 2020 [5,314 miles]

Bike on lift, rear on stand
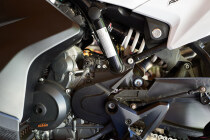
Remove shift linkage bell crank
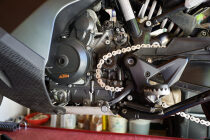
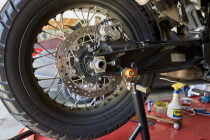
remove sprocket cover
The bike lives on the lift. I used the rear stand to lift the tire off of the lift and jacked the lift up to a comfortable working height. With that done I removed the shift linkage bell crank to get at all the screws holding the sprocket cover. That was followed by a few minutes of scraping crap out of the inside of the cover.
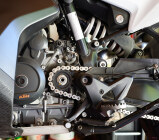
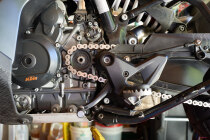
Power tool for nut removal
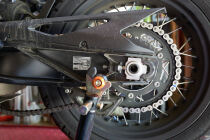
loosen chain
Original sprocket removed
There is a safety washer bent up to hold the sprocket nut in place. With the safety washer bent more or less flat I broke out the impact wrench to break the nut free. There isn’t enough slack in the chain to remove the sprocket after removing the nut and washer. I loosened the rear axle and moved the chain adjusters forward on both sides of the bike. That gave me enough room to remove the sprocket.
Sprockets 16 vs 15 tooth
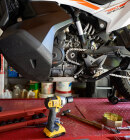
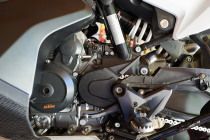
Cleanish
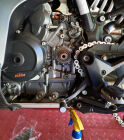
New sprocket positioned
Before installing the new sprocket I spent a few minutes cleaning some of the grunge off of the engine case. I put the chain around the new sprocket and pulled it tight to give me enough room to slide the sprocket over the splined output shaft. With the sprocket in position I tightened the adjusters to take some of the slack out of the chain. I wanted to rotate the rear wheel and make sure everthing tracked well.
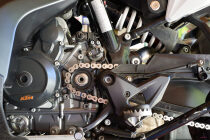
Nut torqued and safety washer bent
sprocket cover installed
shift linkage bell crank installed
I torqued the sprocket nut to 100 Nm, but did not use Loctite on the nut. I didn’t see a need for using Loctite AND a bent safety washer. The safety washer goes over the slined output shaft. I didn’t guess right so a new portion of the washer was bent to match the flat in the nut. It probably doesn’t make any difference.
I did use Loctite on the three screws that hold the sprocket cover to the engine case. Ditto for the screw holding the bell crank to its shaft. There was a mark on the bell crank that I aligned with the notch on the shaft for proper positioning.
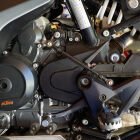
Chain slack adjusted and axle tightened
The last step was to adjust chain slack and torque the rear axle to 90 Nm. With that done I put tools away, put on some riding gear, and took the bike on a short test ride.
Excellent! On the freeway I’m crusing around 5300 – 5600 RPM. Not that much different from the 5000 – 5300 range with the stock sprocket. The big difference is when coming to a stop. I typically downshift as I slow down until I hit 2nd gear. As I approach the stop I pull in the clutch, shift to first, and use my brakes to come to a full stop all at the same time. With the stock sprocket I often found myself going too slow for second gear, causing the engine to buck a little bit before I was ready to shift to first. No longer. I’ve got just enough extra low end to keep the bike in 2nd until I’m ready to stop.