1999 May 12 (Wednesday)
With a friend over to provide the required expertise (how tight should the steering head be tightened), the front forks went back on the bike. First the steering tube was centered in the upper fork guide with judicious use of a 4x4 and a splitting maul – the maul was the biggest hammer I had! I think we got the alignment perfect, though.
Once the tube was centered the steps were:
- races pressed into the frame and greased;
- lower bearing greased and placed over the steering tube, then tapped down until seated;
- a light layer of grease was placed on the steering tube to inhibit rust;
- the steering tube was mounted through the steering head on the frame;
- the upper bearing and bearing retaining cap were greased and installed;
- the bottom steering nut was installed and tightened until friction felt in steering motion and no front to back motion detected;
- bottom steering nut was backed off until no friction detected;
- spacer, upper fork guide, and upper nut installed and torqued;
- Chrome screws installed and torqued.
Forks

Forks installed, side view

Forks installed, front view
This is what it looked like when done… my hands were too greasy to take in progress pictures. A little friction was detected in the steering head after torquing the upper nut. I’ll leave it the way it is for now and will re-check and possibly adjust after the first hundred miles or so.
Serial number plate

Serial number plate installed
The bike looked naked without the serialized name plate. I sanded, cleaned, and painted the screws black. I couldn’t wait… the paint was almost dry when I installed the plate and took the picture.
1999 May 17 (Monday)
Fork lock
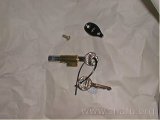
Fork lock keyset
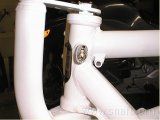
Installed keyset
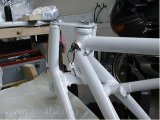
Cover plate installed
I’d ordered a new fork lock, cover plate, rivet, and washer from Bob’s BMW. It arrived today. I made one error in installation, tapping the rivet a bit harder than necessary. That error makes the cover plate very hard to move. It looks good, though.
Riser hole plugs
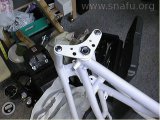
rubber plugs
As long as I’m playing with the front forks I installed the rubber plugs in the lower handlebar riser mounting holes. These are the plugs that came with the bike. They were in excellent shape; must have been replaced sometime in the recent past.
Handlebar risers
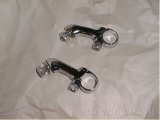
Replacement handlebar risers
The pictured risers were received from Joe Groeger in exchange for my original risers and a bunch of cash. When Joe is finished cleaning, filing, polishing, and re-chroming my old risers they will look as good as these, ready for the next guy. The attaching nut was also chromed; the washer is stainless steel. The nut on the pinch bolts are zinc plated nylocks. I couldn’t find M8 x 1.0 stainless steel nuts. I may replace it with a chromed or stainless version in the future.
Handlebars
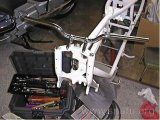
Risers and Handlebars
Things haven’t been torqued down yet, but this is what it will look like (more or less) with the bars installed. I found a set of low Magura bars on the parts wall at San Jose BMW. They are replacing the high bars that came withthe bike. There is no cross piece on the low bars so I didn’t have to bend the risers and risk damaging their beautiful finish.