2000 February 18 (Friday)
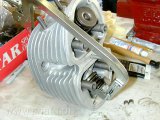
Cylinder heads
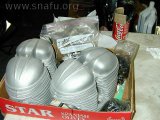
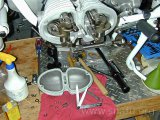
Box of heads
The heads and related parts have been waiting in this box for quite a while. Time to do something with them.
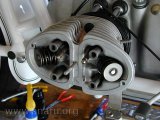
Valve lapping
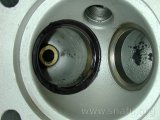
Valve seats
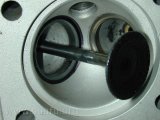
Lapped valve seat
I used a magic marker around the valve seat so that when I lap the valves I can see how well the valve surface matches the seat. The first picture is before lapping, the second after lapping.
Valve components

Valve springs and keepers
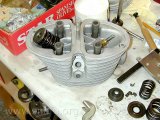
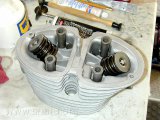
Ready for keepers
I used a C style valve spring compressor. It was just the right size for /2 heads. The first picture show the bits before installation, the second has the intake springs in place, but the keepers haven’t been installed yet.
Install valves
Compressed spring
Head ready to install
The first picture shows the valve spring compressor in use. I used a dab of assembly lube on the keepers to hold them in place until I released the spring compressor. The second picture shows the head ready to mount on the cylinder.
Head hardware and push-rods
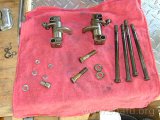
Head hardware
Pushrods
Head gasket
I cleaned the head bolts and and rocker assemblies. The push-rods were positioned (for the photo, only) and a new head gasket was put in place. The gasket was used clean and dry. I believe this is correct.
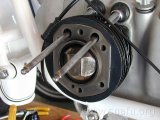
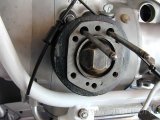
Install cylinder head
Head in place
Rockers, head bolts
I held the head in place using the top and bottom bolts then positioned the push-rods, rocker arm assemblies, and the 4 main head screws. I torqued the head screws in a cross pattern at 15, 20, then 25 ft-lbs.
Dirty threads
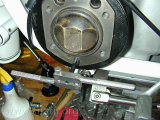
Dirty threads
Problem number 1 - the torque wrench clicked on the top and bottom head bolts while they’re still 1/4 inch away from the face of the head. I took the head off of the cylinder and used a tap to chase the threads. My thoughts were that some paint got on the threads when I painted the cylinders.
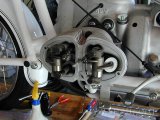
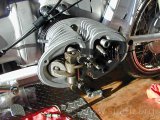
Adjusting valves
Adjusting valves
Left side done
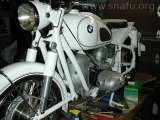
The second time the heads went on very smoothly. There was no end play in either the rocker arm assembly. I set the valves and installed the valve cover with a new gasket. This is how the bike is supposed to look.
Rocker arm assembly
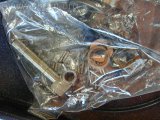
Rocker assembly parts
Right intake OK
The right side head was supposed to go on just like the left side. Instead, I wound up with a bag full of pieces of the exhaust rocker arm assembly. The end play was excessive, and when I took the assembly off the bike to try to adjust it it fell apart in my hand.